Deploying any repo to Render
These instructions allow you to deploy any repo to render, even if it is a private repo.
To deploy a private repo, you need to first add the organization to your render account; the instructions below explain how to do this.
Step 1: Create Render.com account if you do not already have one.
First, create a Render.com account. We suggest using either “Login with Google” or “Login with GitHub” to create your Render.com account.
Step 2: Create a new app
To create a new app, first the blue New button

Then, chooose “Web Service” from the menu

Step 3: Connect a repo
The next screen asks you to choose a repository. You’ll see a box like this one:
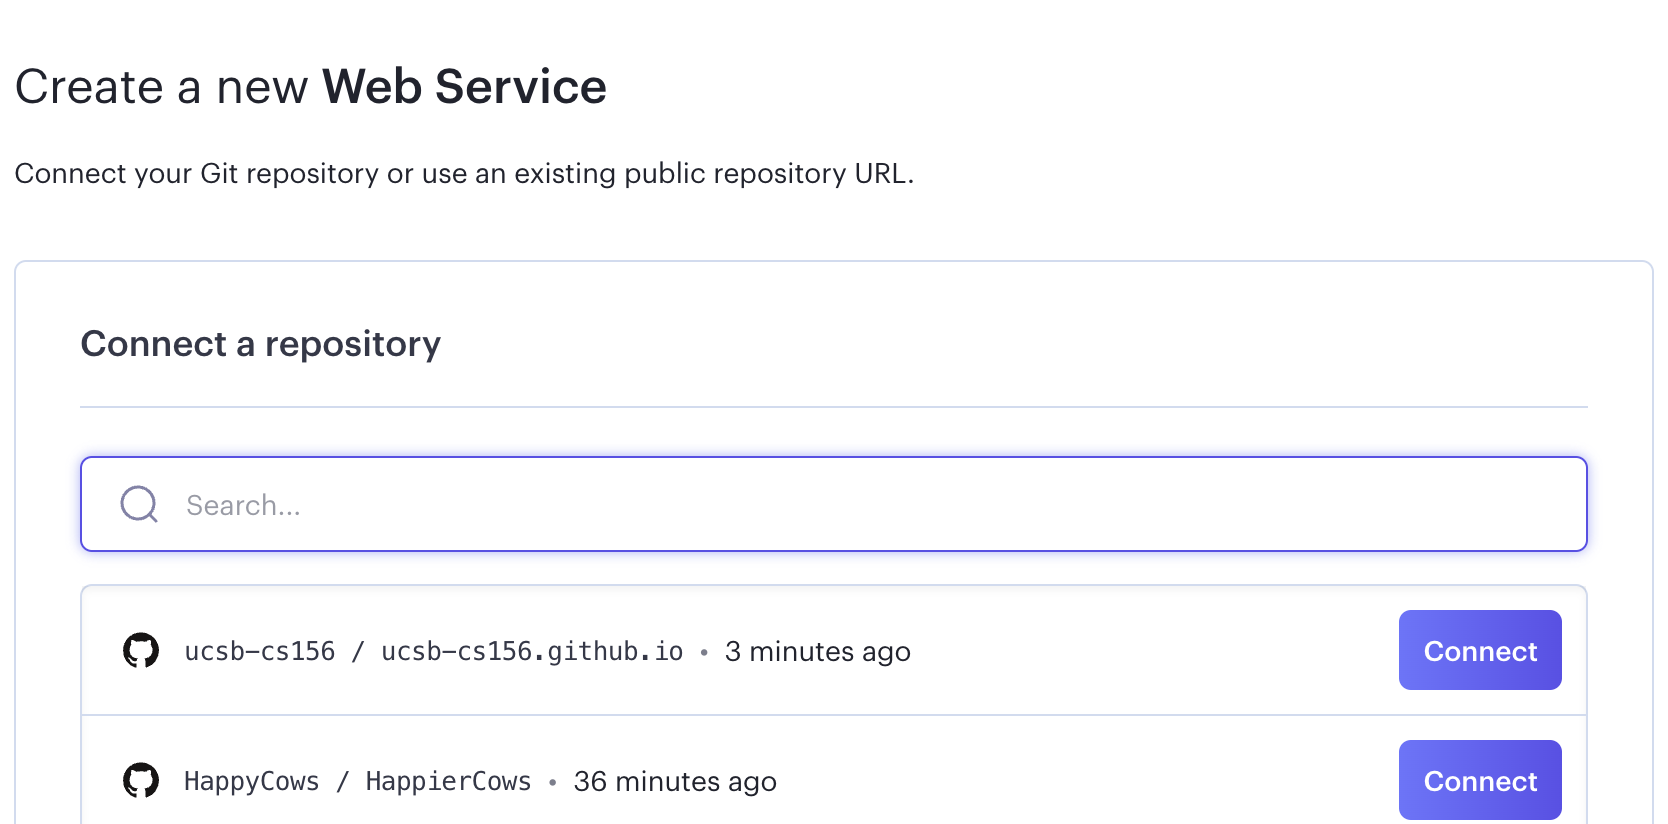
If the user or organization that you want to select a repo from isn’t already listed in the list at right that looks like this, you may first need to click where it says “Configure Account”

And then add the organization (e.g. ucsb-cs156-s23) to your account.
Assuming the organization is there, you should be able to select the repo you want to deploy.
Step 4: Name your app
Next, choose a name for your app. I suggest that you start all of your names with your githubid, since that will ensure they are unique; for example, if your GitHub id is cgaucho and you are working on jpa03, you might enter:

Then, for Spring Boot projects, leave Root Directory empty, select Docker for the Runtime Environment, and select the default for the Region (e.g. Oregon (US West))
Scroll down, and leave the branch as main (or select a different branch if you like.)
Choose the free plan:

Then scroll down and click Create Web Service

Step 5: Watch the build
That will take you to this screen where you can monitor the build:

Step 6: Deploy a specific commit
If you are working on a branch and you want to deploy a specific commit, here’s how you do it
- Get the SHA of the commit. You can type
git logto see the SHA of the latest commit -
Click
Manual Deploythen selectDeploy a Specific Commit
- In the box that comes up, paste in the SHA. Any prefix of the SHA is fine; it doesn’t have to be the entire thing.
-
The commit should pop up along with its commit message. Select it, and then click Deploy
