team02 : Team Project: Front End: Javascript, React, Jest, Stryker
| num | ready? | description | assigned MW lect | due MW lect | assigned TR lect | due TR lect |
|---|---|---|---|---|---|---|
| team02 | true | Team Project: Front End: Javascript, React, Jest, Stryker | Mon 05/03 12:30PM | Sat 05/15 11:59AM |
These instructions are incomplete: so far, we just have Part 1, which is the setup, which we’ll do in lecture on Monday 05/03.
We’ll continue with Part 2 in discussion section Tuesday on 05/04.
Second team programming assignment: Front End coding with Javascript, React, Jest
This is a team programming assignment. Each team has it’s own repo to complete this assignment, and you will work as a team.
Here are the links to the repos:
Part 1: Team divides up the work
The first few steps here are identical to the ones that you did for team01, and will be similar to skills you’ll need for the legacy code phase of the course.
The steps in Part 1 are part of participation assignment (P04), in class on Monday 05/03/2021.
Step 1.0: Divide up the Part 1 Tasks
In your breakout room:
- Choose one member of the team should to share their screen and bring up the team’s slack channel.
-
Each team member is asked to make a post to let the team know they are participating; this might be a simple greeting to the team (e.g.
Hey there team!).You need to know how many folks are here, because the tasks you are dividing up are ones you’ll be completing during class.
-
Now, divide up the following list of tasks among the team members. These are to be done during class today. Post to the slack channel who is doing what. You can pair up on a tasks if needed; but each person should be assigned to at least one task, and each task needs to be covered.
These can be done more-or-less in parallel; there are a few small dependencies (such as the fact that if you deploy the Heroku app when the repo is still empty, nothing will happen), but you can definitely start on each of them at the same time.
List of tasks:
| Step | Task |
|---|---|
| 1.1 | Cloning initial code repo, and populating with starter code |
| 1.2 | Setting up Heroku deployment for team02 app and deploying code to it |
| 1.3 | Setting up team and staff permissions on the Heroku repo |
| 1.4 | Setting up GitHub Pages repo docs for storybook |
| 1.5 | Setting up GitHub Pages repo docs-qa for storybook |
| 1.6 | Setting up Kanban board for team |
The rest of Part 1 describes each of these tasks one-by-one. After dividing up the tasks, get started on them. When each one is finished, report that on the team’s slack channel, and check in on other team members to help with their tasks.
You can stay all in the team’s main zoom breakout room, or if it helps, you can divide across multiple breakout rooms; either way, stay in touch with your team using the team’s slack channel.
Step 1.1: Pull in Starter Code
One member of the team, it doesn’t matter who (but for practice, I suggest that it be someone different that who did it for team01), should clone the team’s repo on their machine, pull in the starter code
(as outlined below).
I suggest you do this in your breakout room, with the whole team watching, and the team member that is doing the work sharing their screen.
That member should:
- Clone the team’s repo
- Add a remote for the starter code, which is here: https://github.com/ucsb-cs156-s21/STARTER-team02
- Checkout the main branch (
git checkout -b main) - Pull from the starter remote (
git pull starter main) - Push to the origin repo (
git push origin main)
Step 1.2: Deploy the repo, as is, to Heroku
A member of your team should:
- Visit the Heroku Dashboard, and create a Heroku app with the name
cs156-s21-5pm-1-team02, substituting in your team number in place of5pm-1. Since each user on the Heroku “free plan” is limited to 5 apps, it would be helpful if this were someone other than the team member that created this forteam01. - On the deploy screen, link your Heroku app to your team’s repo, and deploy the main branch.
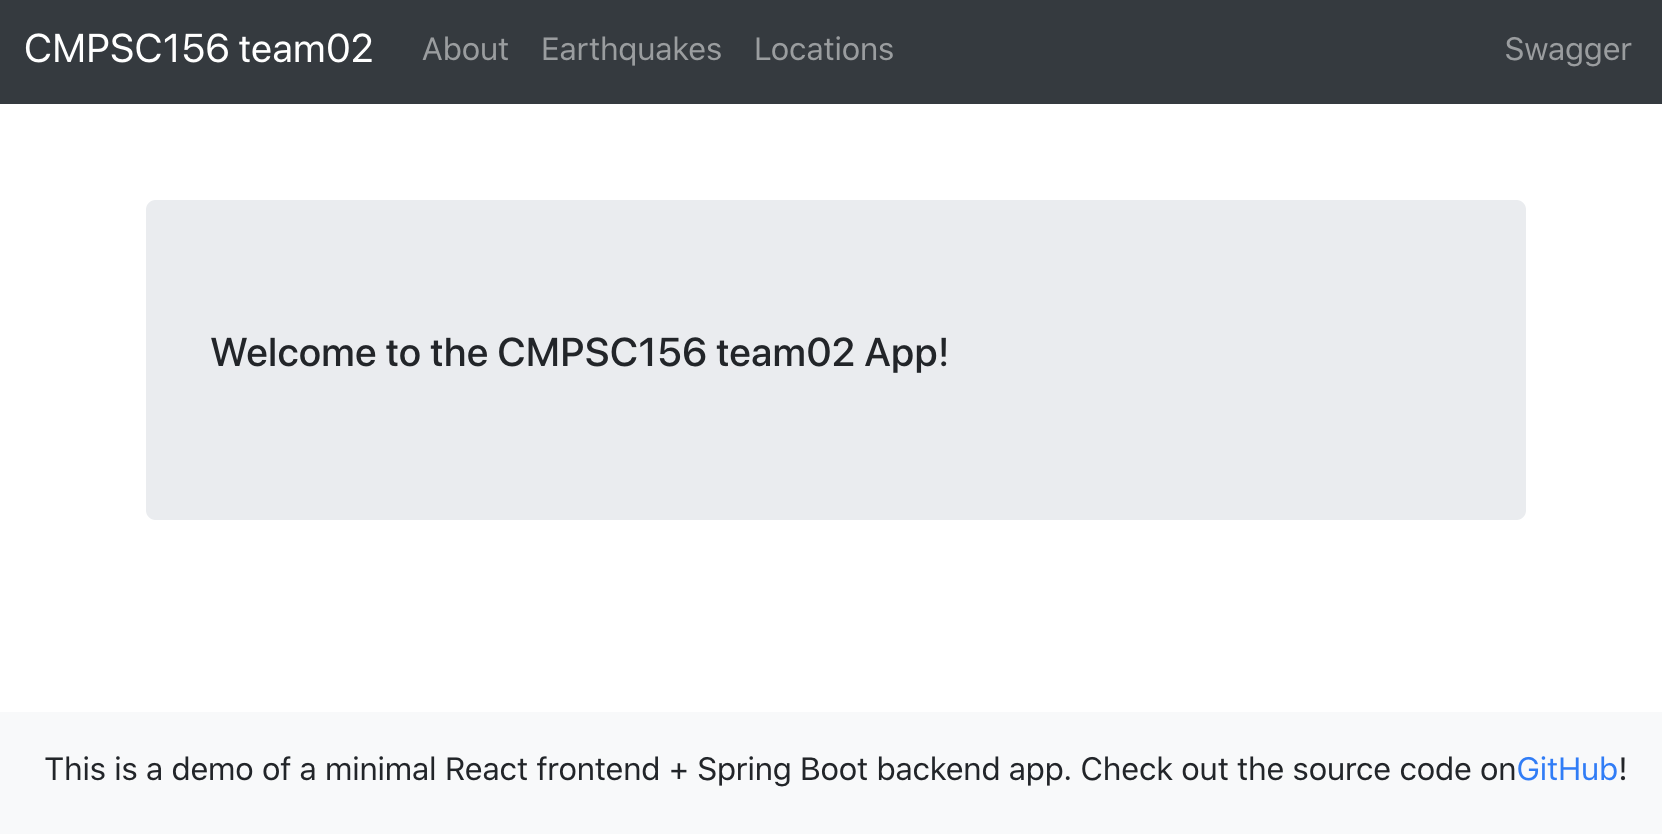
- When the app is deployed, you should be able to navigate to the link below for your team, and launch the application.
Heroku Dashboard:
Running App:
The result of visiting the home page of the app in the browser should be something like this:
Step 1.3: Give team and staff access to your Heroku Deployment
Please visit the Access tab of the Heroku Dashboard for your deployed app. (You might also want to bring up, in a separate tab, the Access tab of your deployed team01 app).
Add:
- each of the members of your team.
- the assigned LA and TA for your team (you can find their names here
- your instructor (
phtcon@ucsb.edu)
To get the email that you should use for Heroku, you can look at which email addresses you used for the team01 Heroku deployment, or dm the individuals on Slack.
Step 1.4/1.5: Setting up GitHub Pages repo docs and docs-qa for storybook.
The instructions for Steps 1.4 and 1.5 are almost identical; they are just being carried out for two different repos. Accordingly, we’ve combined the instructions.
In addition to the repo such as team02-s21-5pm-1, you should also have two additional re pos:
- A repo such as: team02-s21-5pm-1-docs (Step 1.4)
- A repo such as: team02-s21-5pm-1-docs-qa (Step 1.5)
If you edit the URLs shown above (which are for the s21-5pm-1 team), you should be able to find a similar repo for your team.
These repos are initially empty; visiting their page will give you a screen such as this one:
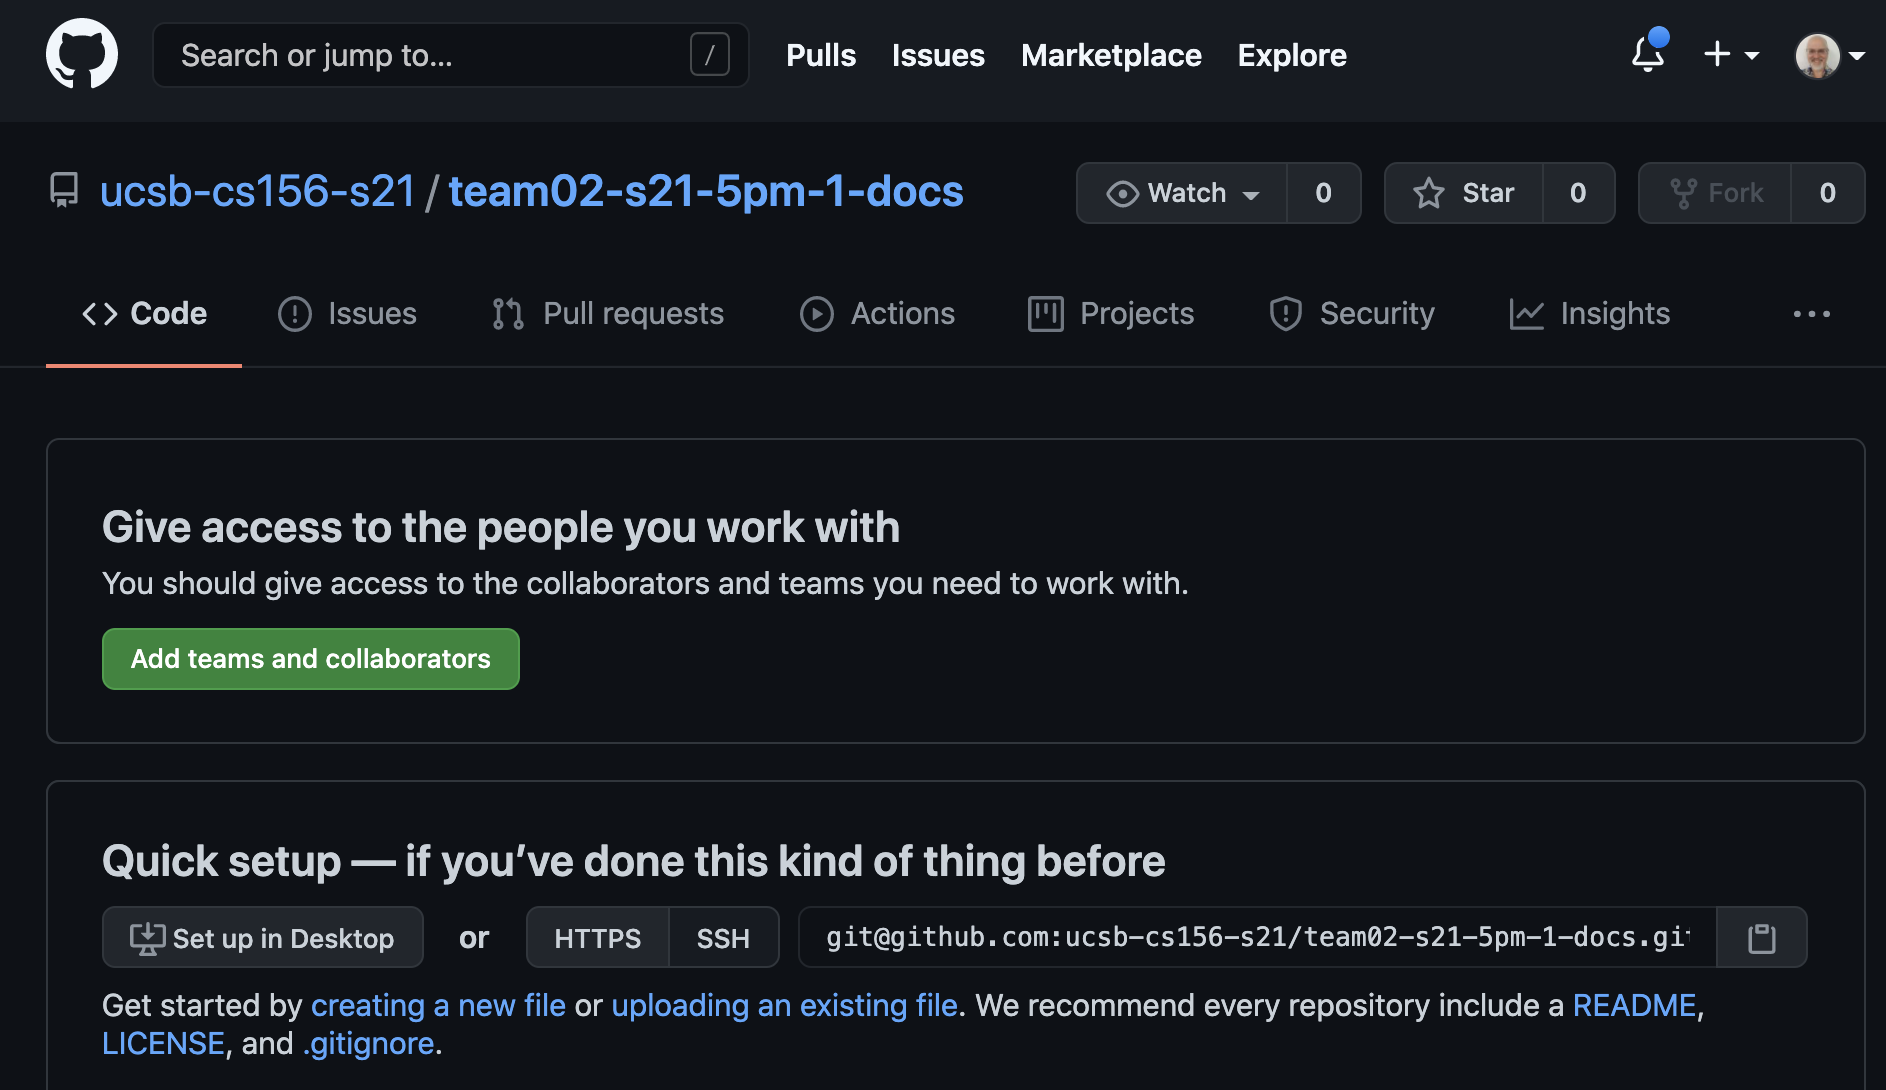
On this screen, if you look in the second second on the page (titled Quick Setup—if you've...) you’ll see a sentence that starts Get started by creating a new file... and the words creating a new file
are a link.
You can click on this link to be taken to a page where you can create a Markdown file directly in the GitHub file editor. The name of the file should be docs/index.md (it must have exactly this name, all lowercase).
In this file, put the following contents (they vary slightly depending
on whether you are working on Step 1.4 (-docs) or Step 1.5 (-docs-qa))).
In both cases:
- note the the first two lines should be exactly
---and---: these are used in GitHub pages (which is based on a technology called Jekyll) to denote that the page should be converted from Markdown to HTML. - If you copy/paste, be sure to change
s21-5pm-1to your own team’s name.
Contents of docs/index.md for Step 1.4 (-docs):
---
---

Documentation for <https://github.com/ucsb-cs156-s21/team02-s21-5pm-1>

[Storybook](storybook)
Contents of docs/index.md for Step 1.5 (-docs-qa)
---
---

QA site for documentation for <https://github.com/ucsb-cs156-s21/team02-s21-5pm-1>

Production documentation is here: <https://ucsb-cs156-s21.github.io/team02-s21-5pm-1-docs>

[Storybook](storybook)
Once these files are created:
- Go to the Settings page for the repo
- From the left navigation, near the bottom there is a tab called
Pages. Select this. - Enable GitHub Pages for the repo, on the
mainbranch, and for the/docssubdirectory. You do not need to choose a “theme”.
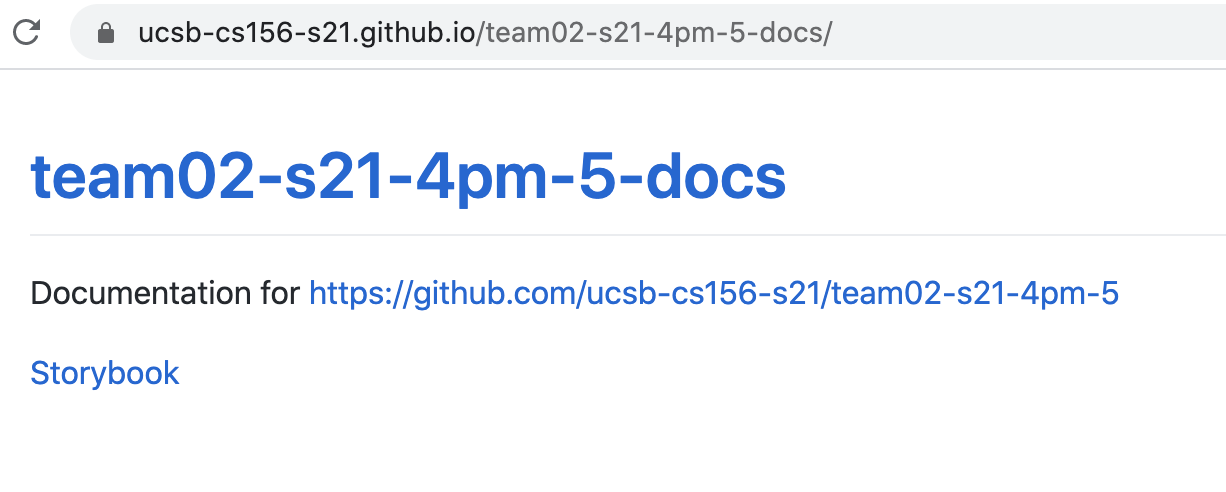
On the GitHub pages panel, there is a link to the website that is published via GitHub pages. This link will not immediately be active— at first you’ll see a page like this one:
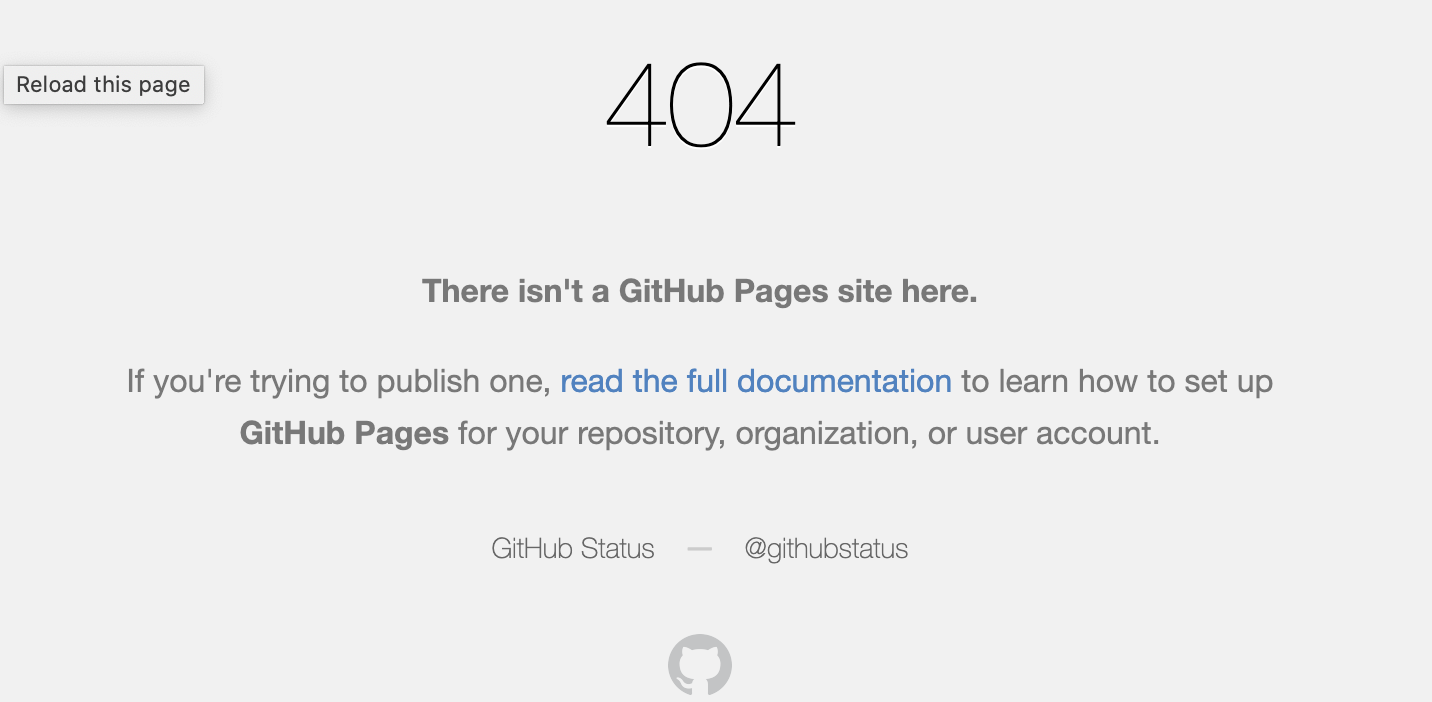
it takes 3-5 minutes—but after a few minutes, clicking on it should bring up a page such as this one:
Step 1.6: Create a Kanban board for your team.
To create a Kanban board (we’ll discuss what one of those is during lecture) go to the Projects tab under your team’s repo.
Create a new project called “S21”.
Choose “Template: None”. You can leave the description blank. Then click “Create Project”.
Then, you’ll see that you have a blank project where you can add columns.
Add these columns, in order from left to right:
- Planning
- Todo
- In progress
- In review
- Done
When you’ve finished with that, you’ve finished with this task.